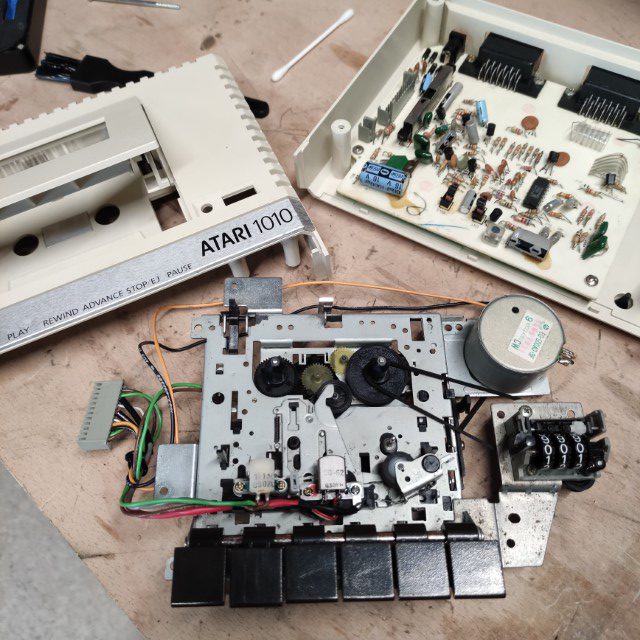
The first job was to give the tape deck a thorough clean and change the drive bands. Nothing really to report on this just lots of water and IPA.
The main problem with the deck was the broken ‘Play’ button. As shown in the photo below, the shaft attached to the key had snapped. This essential part interacts with the mechanism to activate the play functionality.
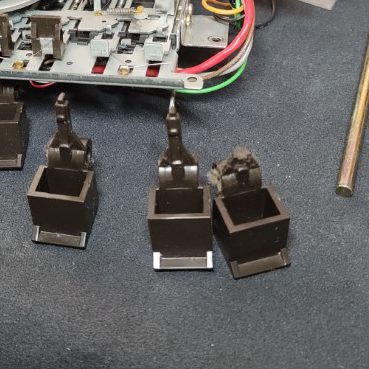
The fix for this was to drill a narrow hole into the key at the broken shaft location. Into the hole I glued a nail, trimming it to the correct length.
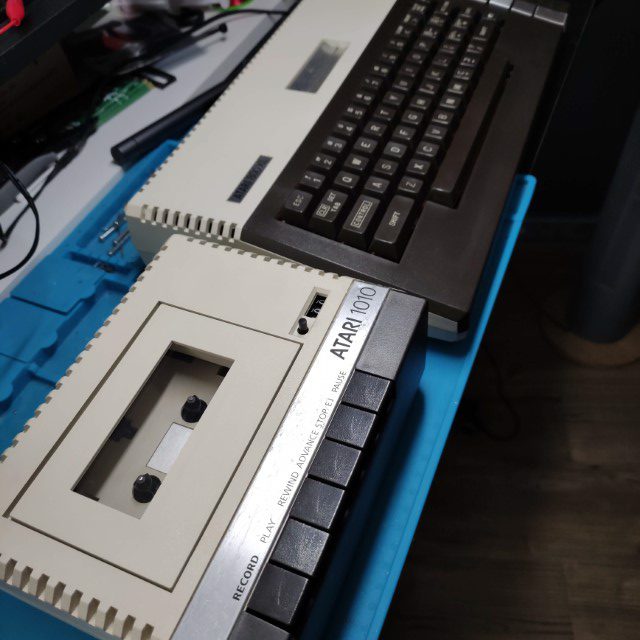
After this fix, and the cleaning the deck looks in good condition and works. I am missing the cable to connect it to my Atari 800XL so full testing will have to wait.
One point to note, I was missing a power supply for the 1010, which was originally a 9V AC brick. Having inspected the PCB it was obvious that the first part of the circuit is a number of diodes configured as a bridge rectifier. This means that a standard 9V DC supply can be used, which is much easier to source.