I recently purchased an Atari 1029 printer to add to my growing collection of Atari computers and peripherals. The eBay listing stated that it was faulty with ‘no power’.


I must admit I had forgotten how large dot matrix printers were. This one was in very good condition and only needed a light clean.
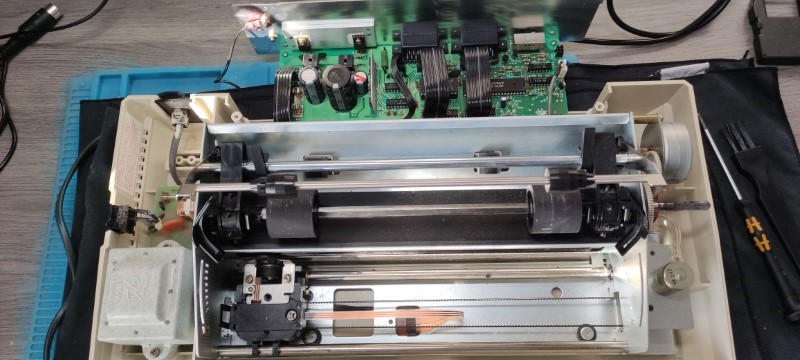
I started with a quick inspection, checking the plug and fuse, which turned out very fortuitous – the live wire had come loose from its screw terminal. Re-attaching the wires and plugging in and the printer burst into very noisy life – I had also forgotten how loud these types of printer are.
The Atari 1029 is a rebadged Seikosha printer, and has their logo on the internal components. Apparently they were only made in limited numbers (Centre for Computer History page), and rebadged Seikosha’s were sold by other manufacturers too.
The printer has a self-test switch on the back which prints a staggered character set continuously, which I was able to use to test it.
The ribbon has obviously dried up years ago so I set about trying to refresh it. I did thus by applying stamper ink using a stamp pad and cotton bud. What I hadn’t expected was the internals of the ribbon cartridge, which I had thought would be spooled in some way, instead it is concertinaed inside the case.
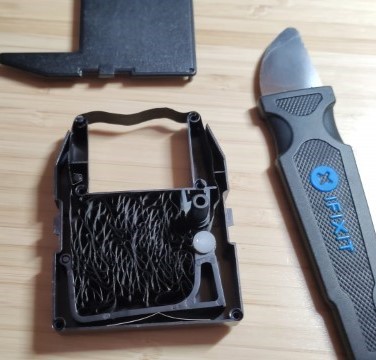
My reinking wasn’t entirely successful, the printing is a little hit and miss, but it’s certainly better than before.
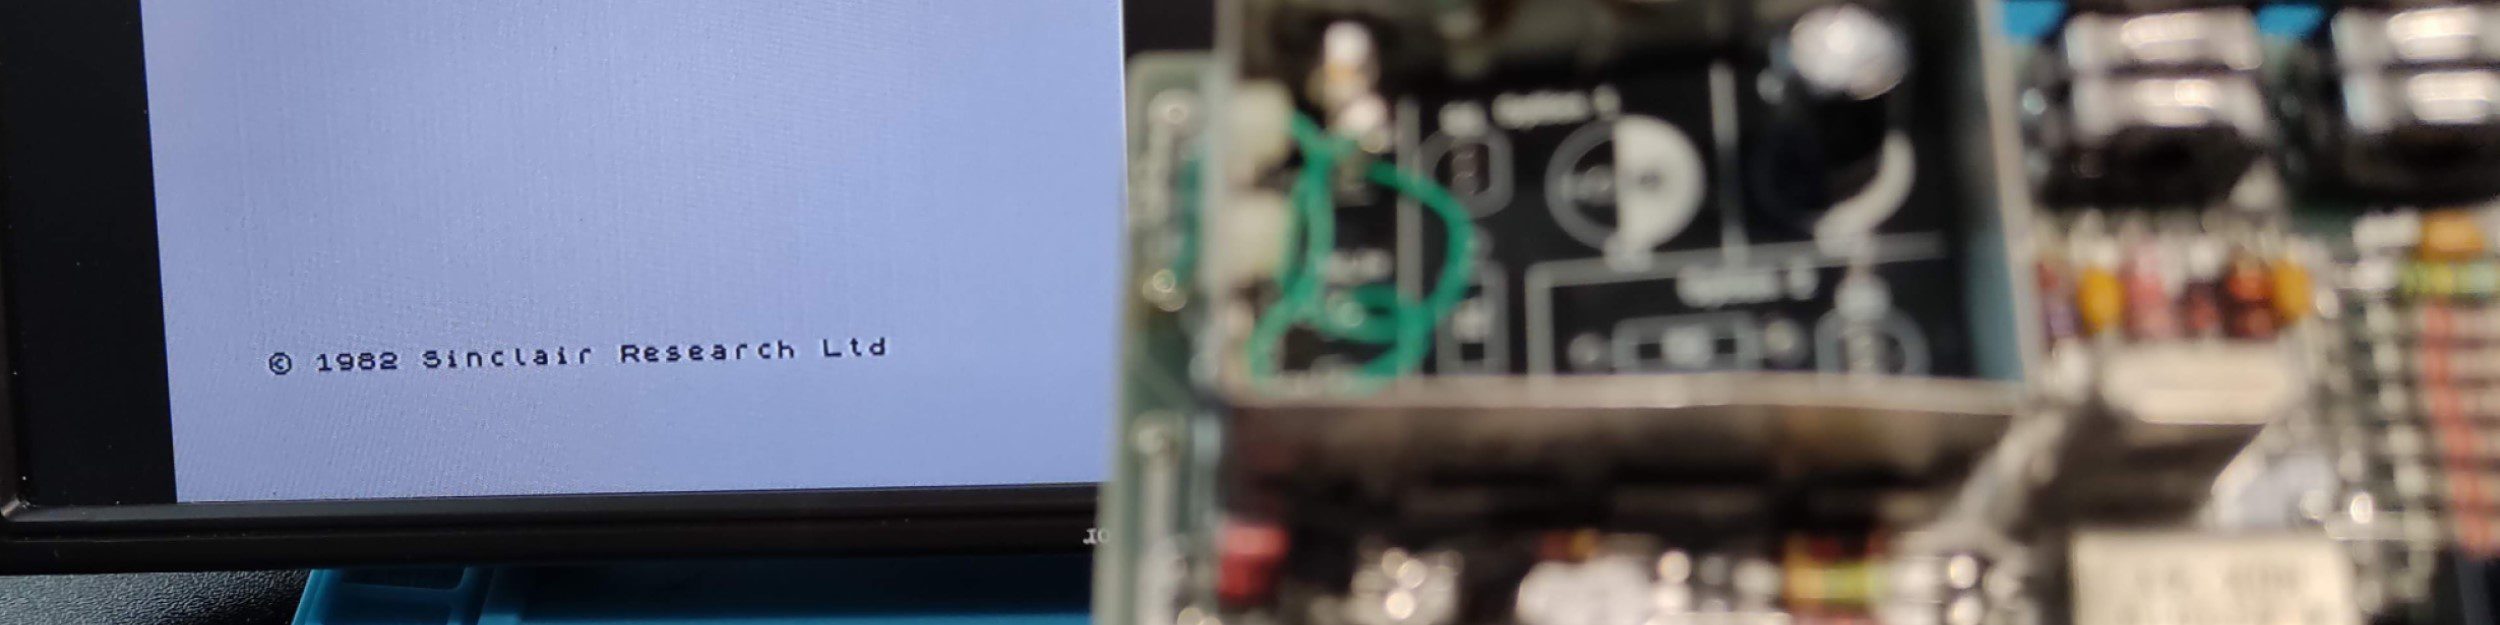
The next task is to hook it up to my Atari 800XL and see if it works – it will also test my SIO cable which I have previously repaired.
I had hoped for more involved diagnostics and fixing, but the issue turned out to be extremely simple once identified. Given the complex mechanical mechanism it’s amazing how robust these things are given that they were released in 1984.