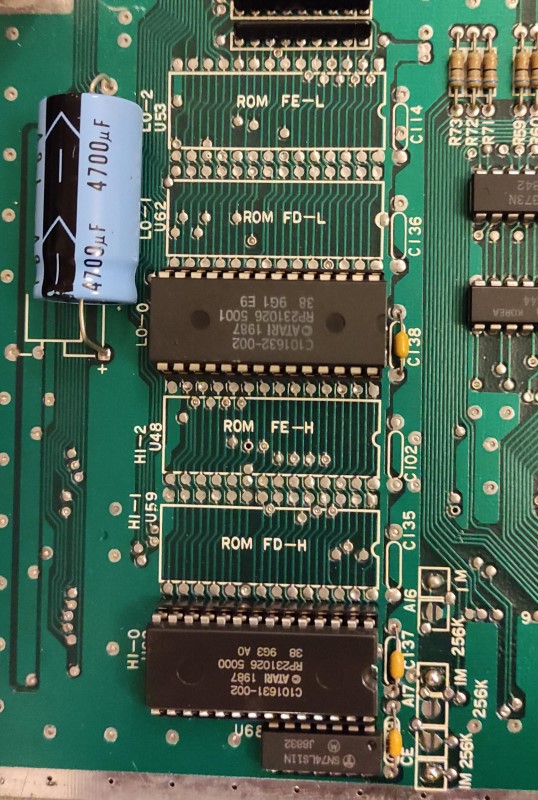
The Atari STFM I have been working on has TOS 1.02 installed on two ROMS and I wanted to upgrade it to 1.04 which is the latest version released for this machine. It sounds easy in principle, download ROM images, burn to EPROM and plug into Atari…..not so easy in practise.
Creating new ROMS
The original TOS 1.04 image is 192KB on two 28 pin mask ROMS, unfortunately you can’t get 28 PIN (E)EPROMs big enough to hold this, so there are two options
- Use 32 pin EPOMS with an adapter board
- Populate the full six chip sockets instead.
I decided to go with the second option as I have lots of W27C512 (and some W27C256) purchased on AliExpress. These are 28 pin compatible EEPROMS.
The next thing is getting hold of the six images for the individual EEPROMS, but they don’t appear to be available to download, but you can download the 1.04 complete image file? The normal approach appeared to be to use a program called ROMSPLIT on an Atari ST to create the six images from the master image. I considered several approaches but decided to use the Hatari emulator with a directory on my hard disc mounted. I copied the original image and the ‘romsplit‘ program to the mounted HD, then executed the romsplit program in the emulator. This generated the individual image files…..job done.
Tip: If you are going to do this make sure you mark the chips and images carefully as they need to be inserted into the correct locations
Writing the images to 27C512 EEPROMS
Each of the images is 32KB, and I was going to use 27C512 EEPROMS which are 64KB each, these are pin compatible, as the extra address line is pulled high which means only the top 32KB will be read. To cater for this I did my normal ‘trick’ of joining two copies of the image to ensure that both halves of the EEPROM have the same data – this way it doesn’t matter which half is read.
copy /B file.img + file.img newfile.imgSo now I had six 64KB images that to use with my 27C512 EEPROMS, and used my TL866 Plus to program the six EEPROMS.
Getting the Atari ready
With only 2 ROMS in my Atari the other 4 sockets needed some prep before I could insert the new chips. Additionally, there were 4 associated capacitors missing (as they are not needed with only 2 ROMS installed); on my board these are C135, C102, C136 and C114. After reviewing a few schematics I found that the capacitors are 100nF (104) axial capacitors – I also checked this by de-soldering one of the originals as the markings couldn’t be seen when installed.
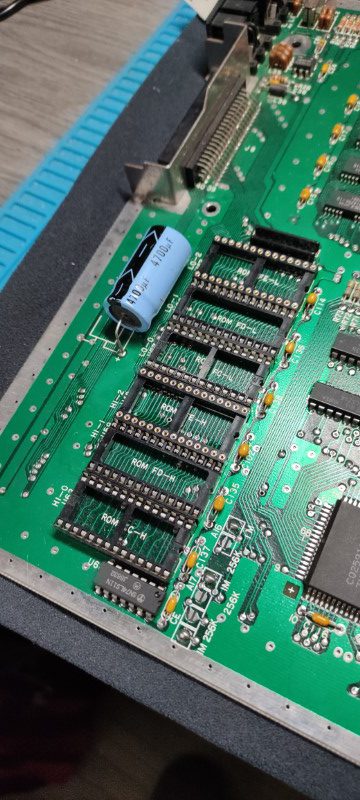
I also had to remove solder blocking all of the pin holes on the 4 empty sockets before I could install chip sockets – which is was not easy 🙁
Final Installation and testing
With the new sockets and capacitors soldered in place the EEPROMS could be installed which was the easy bit.
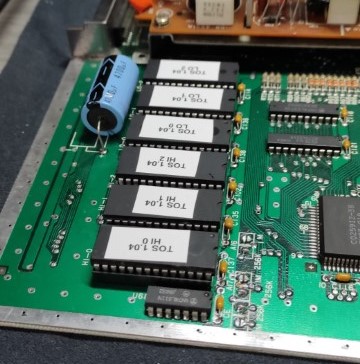
The only thing left was to put the machine back together and try booting it………
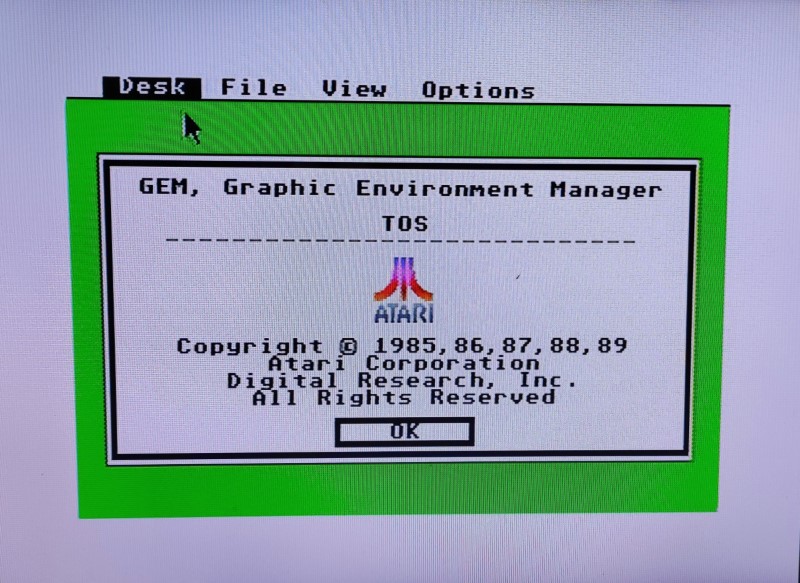
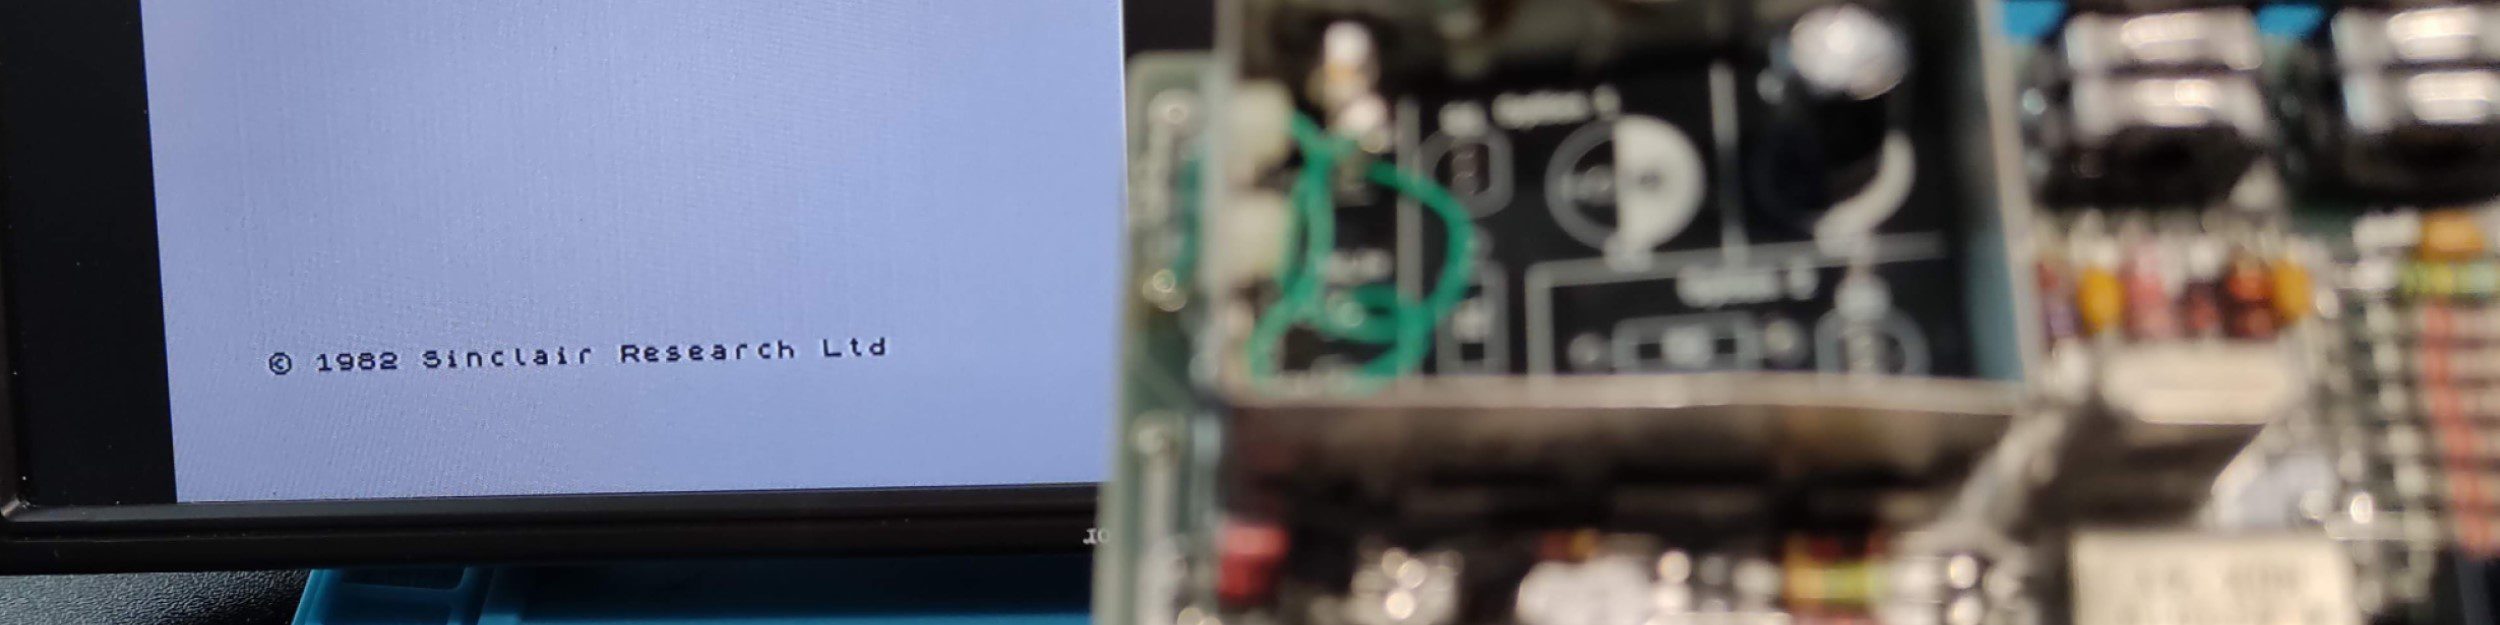
Success, even I was surprised.