After upgrading the memory in my previous blog the final step was to install a gotek floppy emulator. I’ll write a separate blog on upgrading the Gotek firmware to the Flash Floppy as there are a couple of Gotchas, for now this is about the final installation of into the Atari.
After initial investigation I had two issues with the installation
- The floppy data cable disintegrated when I touched it, which meant it had to be replaced
- The power cable was too short to reach the gotek when installed in the same location as the normal floppy
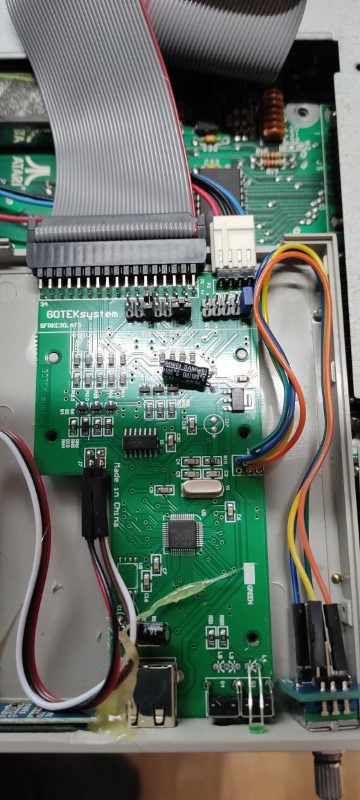
The floppy cable was a pain to de-solder, but once out, I replaced it with a standard set of pins to allow a standard PC floppy cable to be plugged in (rather than the directly soldered ST cable). It also meant I could use a longer cable making the installation easier.
I also decided to install the optional rotary encoder and OLed screen as I found the blind button mode maddening. The process to do this is well documented on the FlasyFloppy website and was very straight forward. I decided to solder pin headers for the OLed and plug connectors for the rotary encoder making it easy to plug-and-play the components later uf necessary.
Fitting the Gotek into the Atari was simply a case of screwing into the standard floppy mounting location. The only tricky bit is making sure that you have positioned the rotary encoder in the correct location so that it is in the middle of the existing slot.
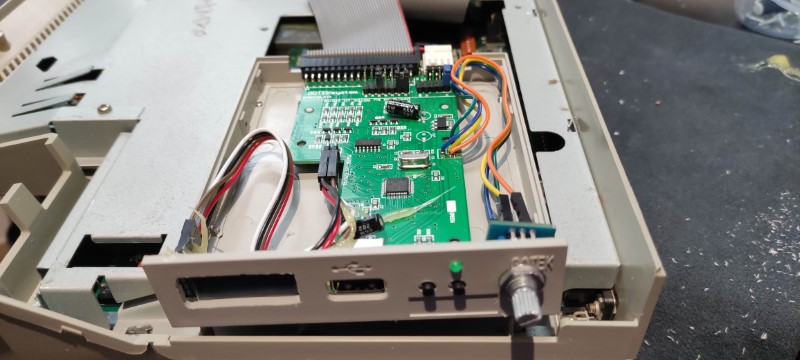
You also have to be careful fitting the top cover as the rotary encoder now protrudes outside the case making it tricky to fit – but not impossible.
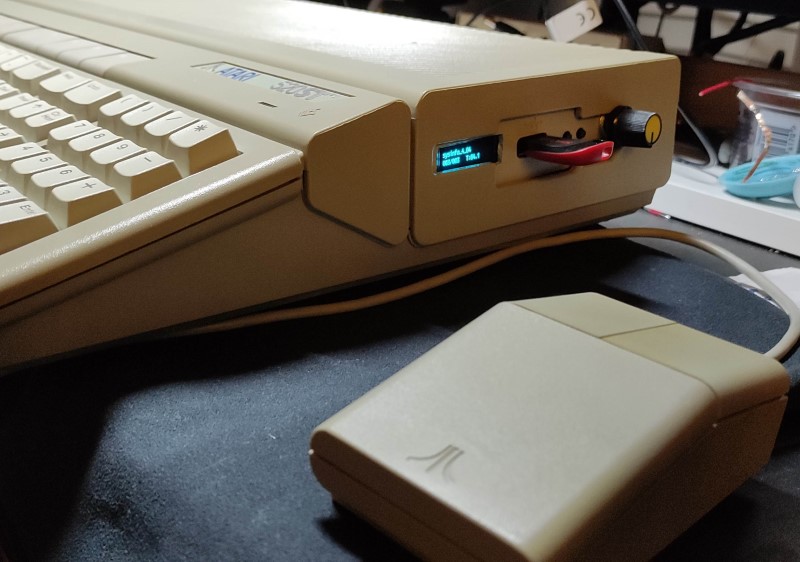
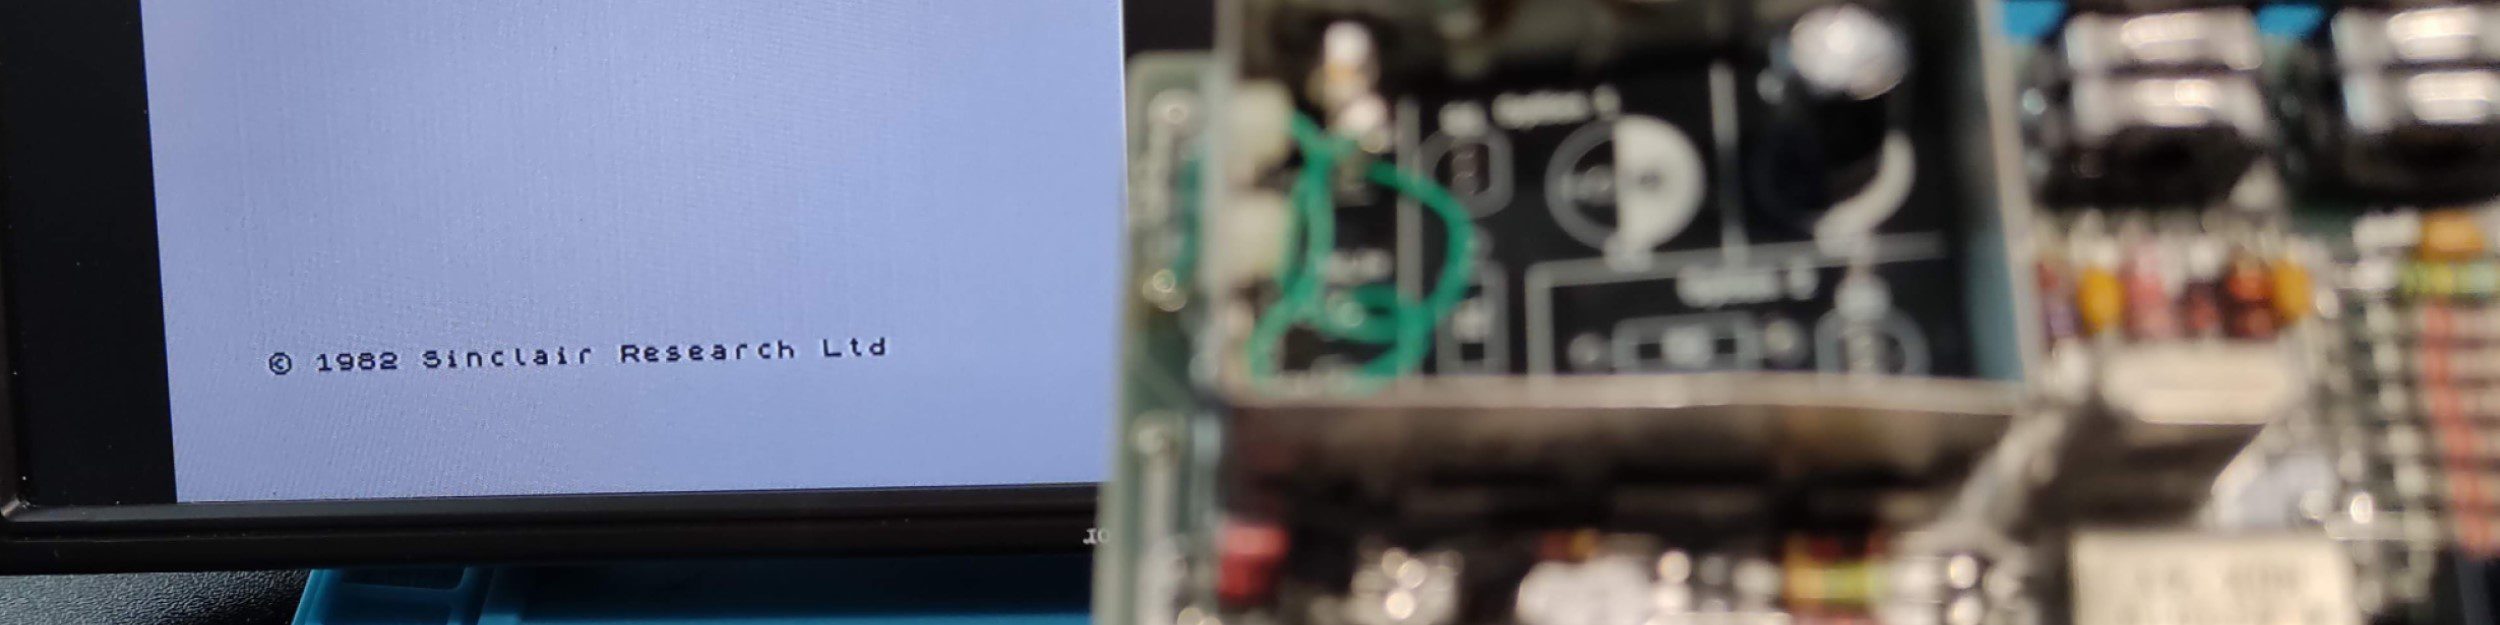
This is the final hardware upgrade, for now, and it works beautifully 🙂