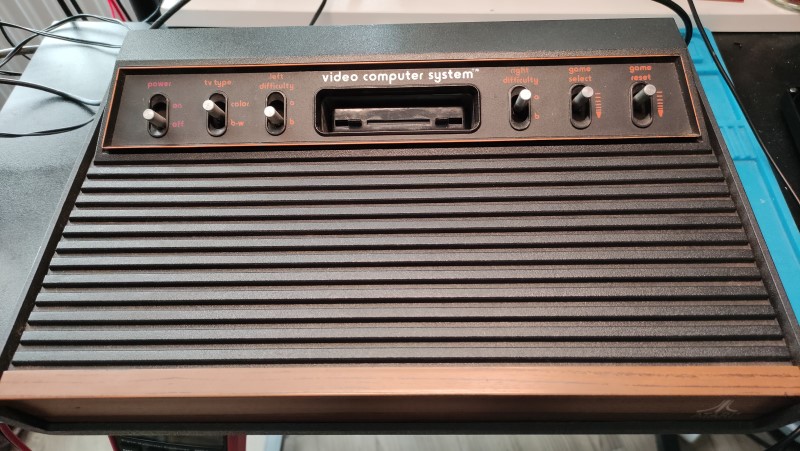
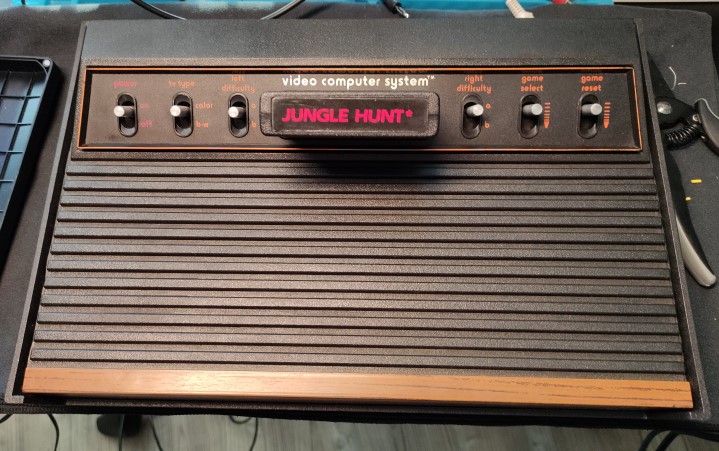
Following a couple of successful Atari 2600 junior repairs, and given how much I enjoyed playing Atari games, I wanted to get a ‘classic woody’. Back to eBay – and it didn’t take long to win an ‘untested’ Woody which looked in good condition.
Testing the console gave mainly a black screen with intermittent ‘noise’. I don’t have a diagnostic cartridge for the 2600, so it was time to break out the schematics, multi-meter, and oscilloscope. The steps I take in this situation are:
- Visual inspection of the boards – paying attention to capacitors
- Check diodes/caps for shorts
- Voltage checks – input voltage and 5v regulator
- Check for life on the processor using my oscilloscope – check clocks and activity on address and data lines
The boards looked good with no obvious problems. I noticed that the 7805 voltage output fluctuated between 5 and 5.3 volts, which seemed a little strange. I also knew that the electrolytic capacitors on my 2600 juniors were well out-of-spec so assumed that these would be the same.


To start things off I changed the 7805 power regulator and the three electrolytic capacitors. I also applied a composite mod to make testing easier.
No change…although I didn’t really expect one.
The next step was to check for life on the address and data lines using my oscilloscope.
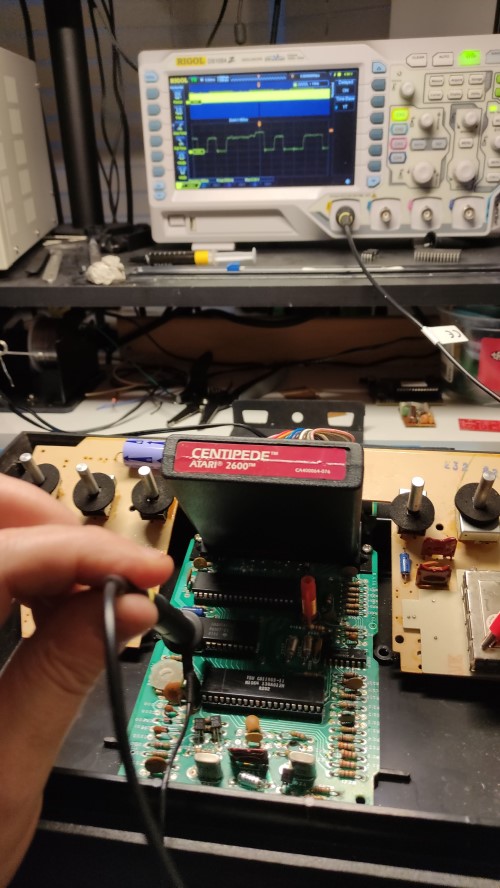
Checking all of the address and data lines showed that the console was executing code – if not a little noisy – but that’s not unusual.
The Atari 2600 is basically only three IC’s;
- 6507 processor – a cut down version of the 6502
- 6532 RAM-I/O-Timer (aka RIOT)
- Custom TIA chip (graphics)
I hoped that the problem was with one of the first two, as replacements can be found at a reasonable price. Unfortunately, following an investigation it looked like the TIA was at fault – the RDY line was stuck at 5v (ish and noisy). The RDY line is used to allow the TIA to halt the 6507 processor when it needs to, letting it get on with generating the graphics output. I double-checked my theory by checking the lines on a working 2600 Junior.
This confirmed that the RDY line should be busy. I decided to de-solder a TIA from one of my junior consoles (as I have two) as a donor to test my theory and hopefully get it working.
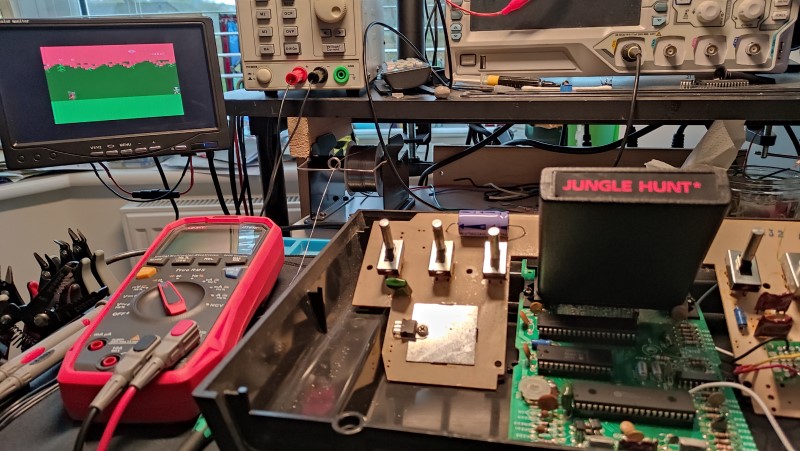
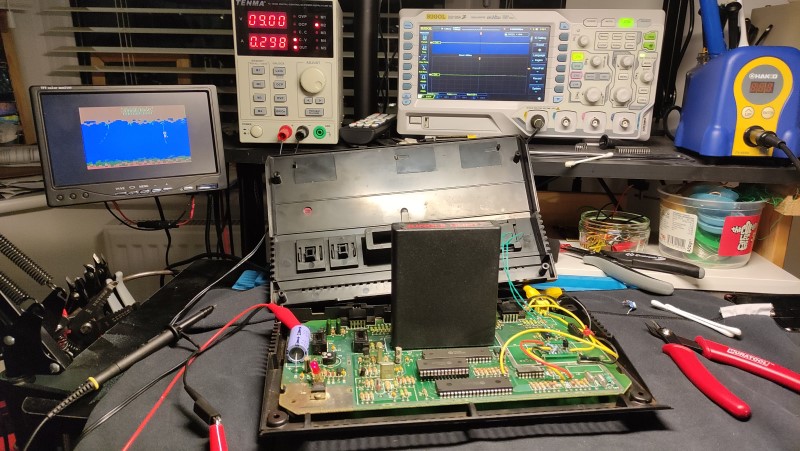
Swapping the TIA produced a clear picture……. but with the wrong colours….. This is not unusual on a 2600 – the usual fix is to play with the ‘colour tint’ variable resistor until the colours look right. As with my previous juniors, this proved more difficult than I would like due to the age of the resistor – I decided to replace it. This made it a little easier to adjust the colour, although still quite fiddly. The colours are still not quite right, but much better than at the start. At least the water is now blue.
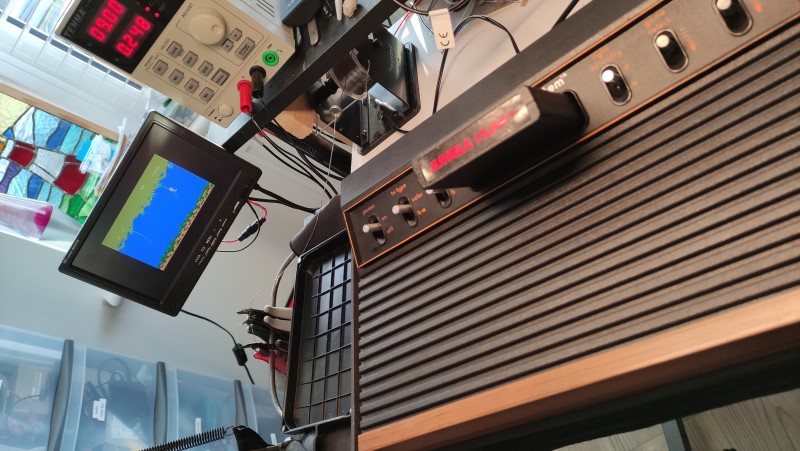
All fixed 🙂 Just a quick clean and reassembly.
The final repair included:
- Three electrolytic capacitors
- A variable resistor
- Composite video mod (custom board)
- Replacement TIA chip