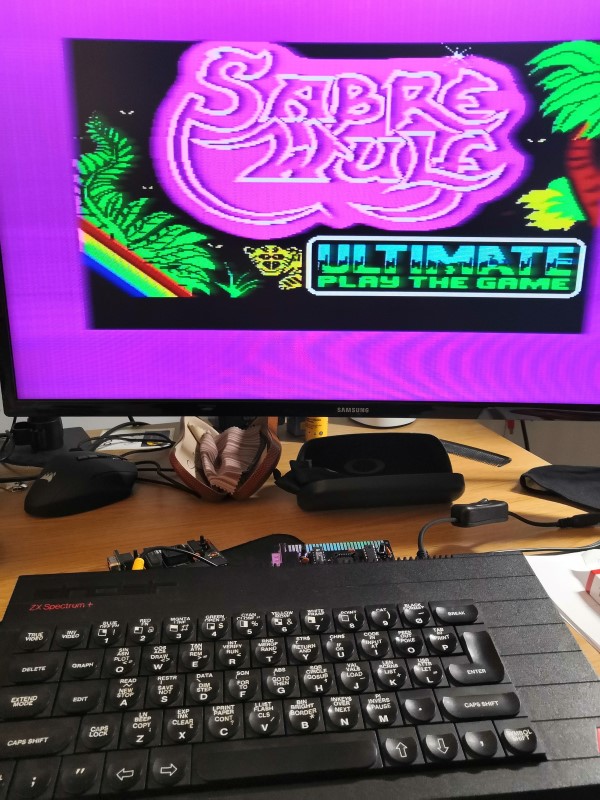
The Dandanator mini is an expansion card for the ZX Spectrum that enables fast ROM/game loading from a pre-programmed EEPROM. The project hardware and software are Open Source and can be downloaded from the website http://www.dandare.es.
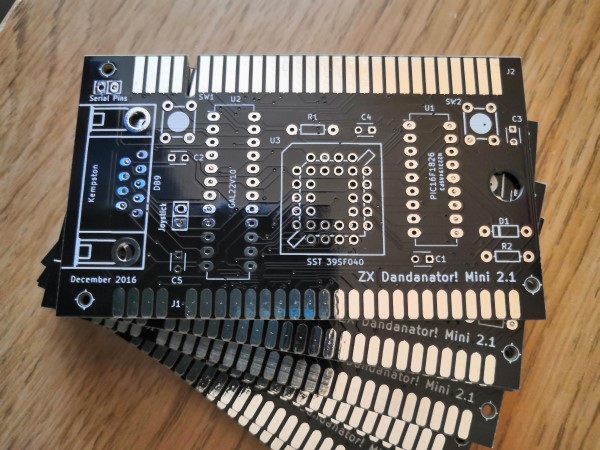
There are several other similar ‘professional’ expansion cards that allow games to be loaded from SD Card or EEPROM, but they can be quite expensive; so I decided to order some PCBs from PCBWay and build my own.
The instructions for building the card up are ok….. but I still had questions so decided to document my findings here.
What you will need
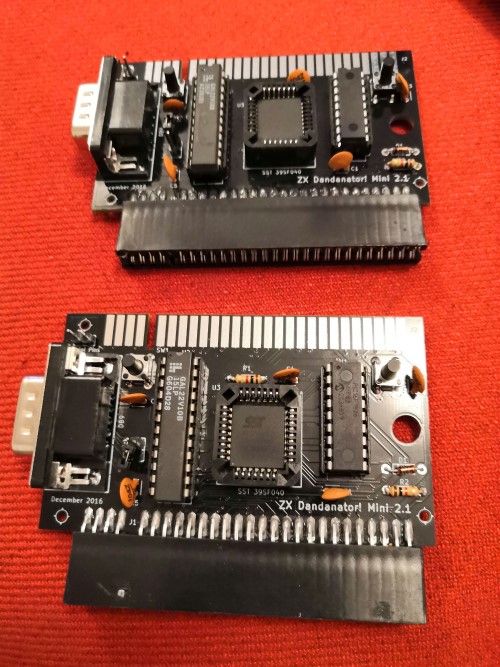
The silkscreen lists most of the main parts that you will need but here is a complete list…
| Component | Part | Bought from |
|---|---|---|
| U1 (Microcontroller) | PIC 16F1826 | Farnell |
| U2 (Programmable Logic) | GAL22V10 | AliExpress |
| U3 (Flash RAM) | SST 39SF040 | Farnell |
| R1 (Resistor) | 10K Ohms | |
| R2 (Resistor) | 10K Ohms | |
| C1 (Capacitor) | 100nf | |
| C2 (Capacitor) | 100nf | |
| C3 (Capacitor) | 100nf | |
| C4 (Capacitor) | 100nf | |
| C5 (Capacitor) | 100nf | |
| D1 (Diode) | 1n4148 | |
| SPST PCB switches | 6×6 momentary tactile switches SPST (~7mm tall) | Ebay |
| Pin headers | Standard pin headers | |
| 9 pin DSub connector | Right angle DB9 male joystick connector | Farnell |
| ZX Spectrum edge connector | The Future was 8-bit |
Most of the parts are fairly standard but I had problems getting a couple of items.
- 9 Pin right angled DSub
- Not really difficult, but difficult at a reasonable price. Farnell were by far the best value
- Through hole sockets for SST 39SF040
- I really struggled with this one – plenty of surface mount sockets available. I originally bought from eBay but received surface mount. I then found them at CPC
- The ZX Spectrum edge connector wasn’t difficult – but it was expensive from specialist retro providers.
- I have since found that I can order them on Ali Express for much less (as long as you are happy modding them to remove one slot and insert a pin)
- The item to look for is : Connector Edge-Card Slot Pitch 2.54 mm 62 Pin Gold Finger Socket Through Holes Vertical
A note about GAL chips
The GAL 22v10 chip is no longer made but can easily be found on AliExpress for a reasonable cost. I ordered 10 and they all worked fine.
I also ordered some Microchip ATF22v10C which are a modern ‘drop-in’ replacement. I tried them on the card and found that they booted fine, but the card then didn’t respond to button presses. After some investigation it looks like it’s due to the GAL chips having internal pullups on the inputs, whereas the ATF chips retain the previous value if the line floats…. I intend to do some more investigation to check if adding pull-ups to the board will allow the new chips to be used.
Update 1/7/23 : I have been told that adding pull-ups to pins 4-11 and 13 allows the ATF22v10c to be used… if I get chance I’ll test out the fix.
Programming the chips
To build the card you need to program the three chips. All of them can be programmed in the ‘old faithful’ TL866II Plus programmer. You will need an adapter for the SST 39SF040, which can be bought on AliExpress or eBay cheaply.
I also tried programming the 16F1826 PIC chip using my PicKit 3 which worked fine.
Gotchas
There was one final gotcha that Mark Fixes stuff also noted in his video (linked below). Once completed it fails to work the first time. You need to hold both buttons while powering on – you will then be told that the firmware is being reflashed….. it then works fine?
I don’t know why this is as you will have already flashed the firmware to all of the chips, but I needed to do it on all four of the cards that I built?
Useful links