On first inspection, the Issue 2 showed a picture with the typical Spectrum coloured border and some flashing bars in the central paper area. The voltages all looked ok, except a low -5v line. Plugging in the diagnostics cartridge wasn’t much help as it didn’t do anything…
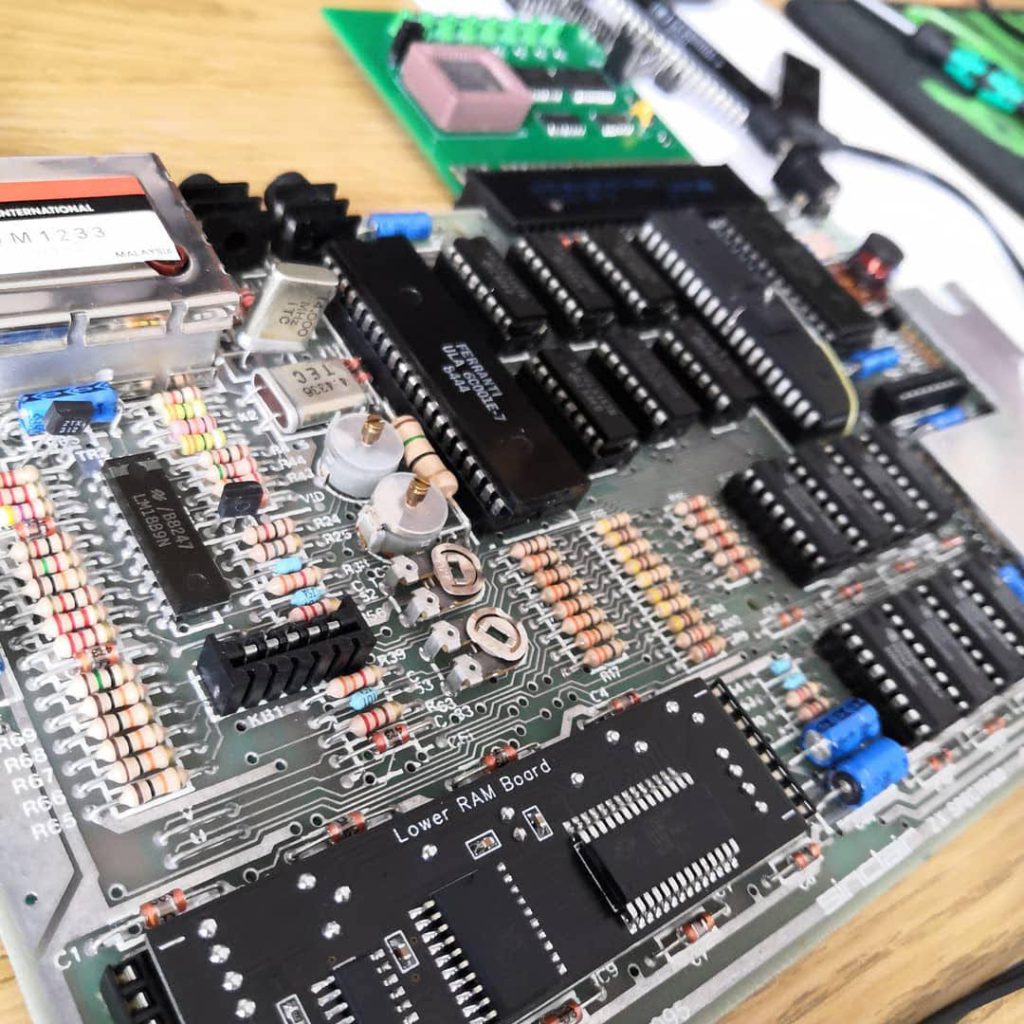
I decided to tackle the low -5v line first by replacing transistors TR4 and TR5. This was a simple job and resulted in a slightly better -5v line, but not by much. With the diagnostics cartridge not being much help, I first swapped the ULA, as this was socket-ed, to see if this had any effect. It didn’t. Knowing that the first thing the Spectrum bios does on boot is set the screen border to white I suspected the Z80 CPU or the bios. The clock signal was ok, so the CPU should start, and the diagnostics cartridge would bypass the bios, and that didn’t work, so I was left with the Z80.
Replacing the Z80 was a bigger job, it wasn’t in a socket and as a 40-pin chip was the biggest de-soldering job I had tackled. Armed with my new de-soldering station and some solder wick I started on the 40 pins.
With a new socket and Z80 CPU I powered it up, and it did … ish
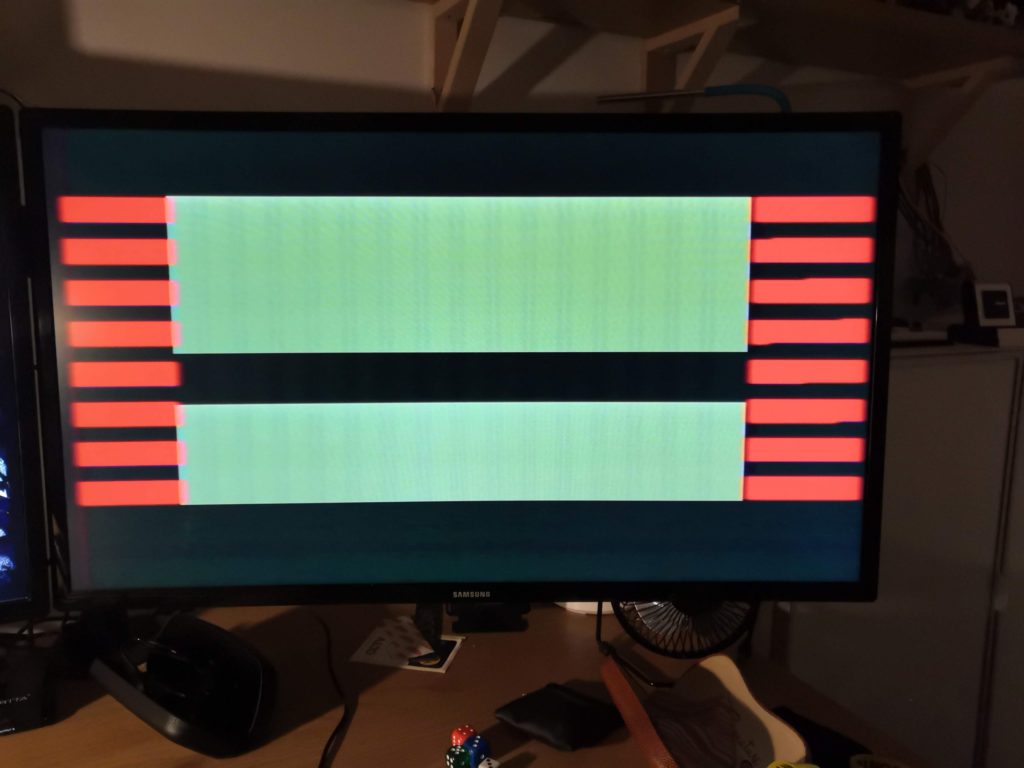
The diagnostics cartridge started but hung after the first few steps without outputting a report. At least now the CPU was executing the code from bios (white border on boot). I tried the ULA from the Issue 4 board and the diagnostics cartridge was executed correctly…. oh no. The ULA is the hardest component to replace, off to eBay. Meanwhile, the diagnostics cartridge indicated that all of the lower DRAM and a couple of upper RAM chips were toast 🙁 What has this board been through?
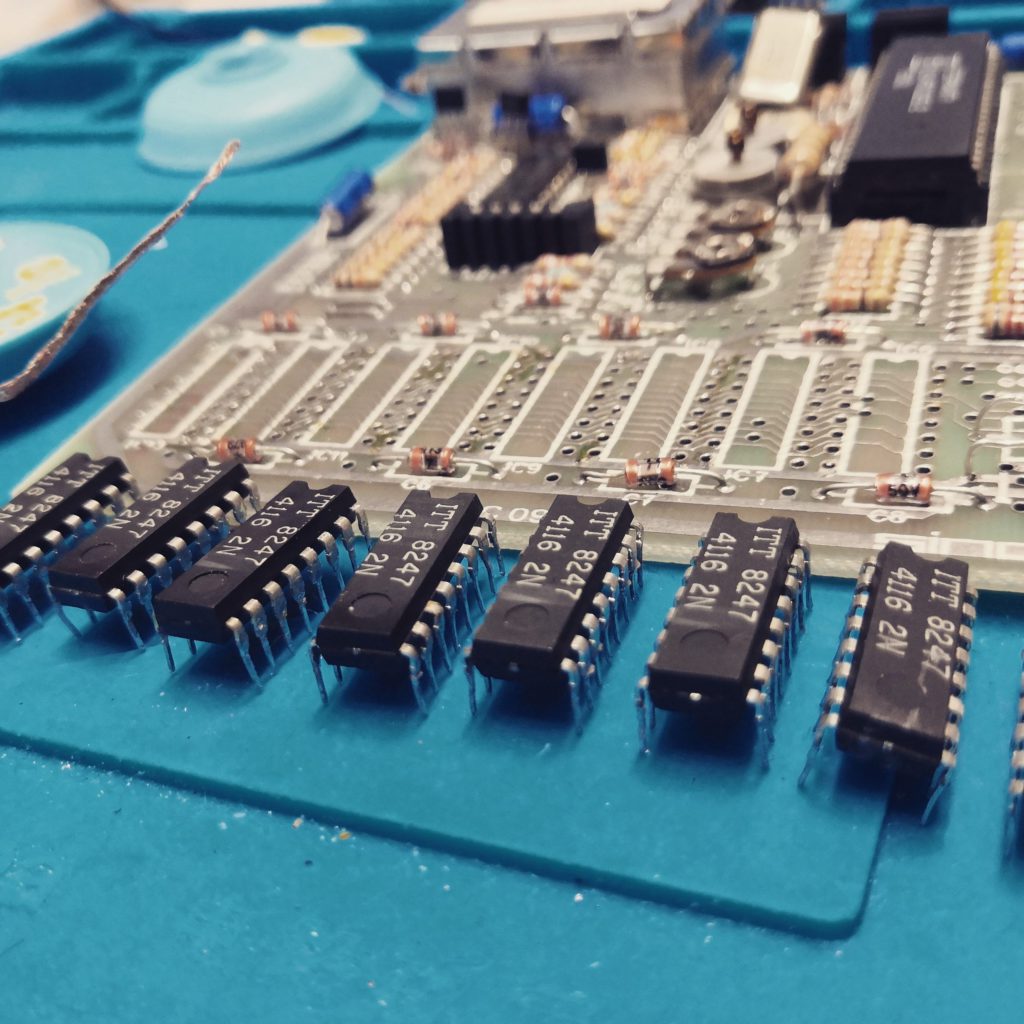
I decided to replace the lower DRAM with a modern replacement board. It’s known to be problematic and a replacement board wouldn’t need the -5v or 12v supplies. With the number of components that this board was going to need replacing it was never going to be ‘original’. To do this I needed to remove all the lower DRAM chips and replace them with sockets.
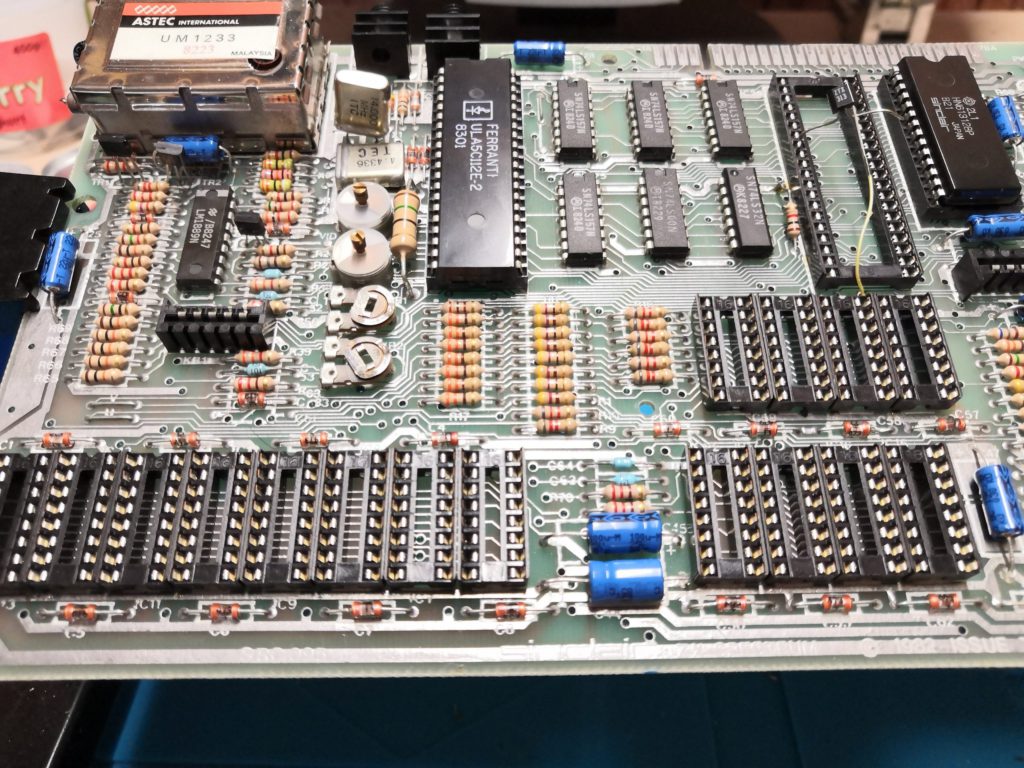
I decided to practice my de-soldering and remove all the lower and upper DRAM chips, which makes fixing future issues easier. With this done I replaced the lower DRAM with a modern board from Retroleum and the upper ram with new 64K chips. The final piece was a Nebula replacement ULA, again from Retroleum.
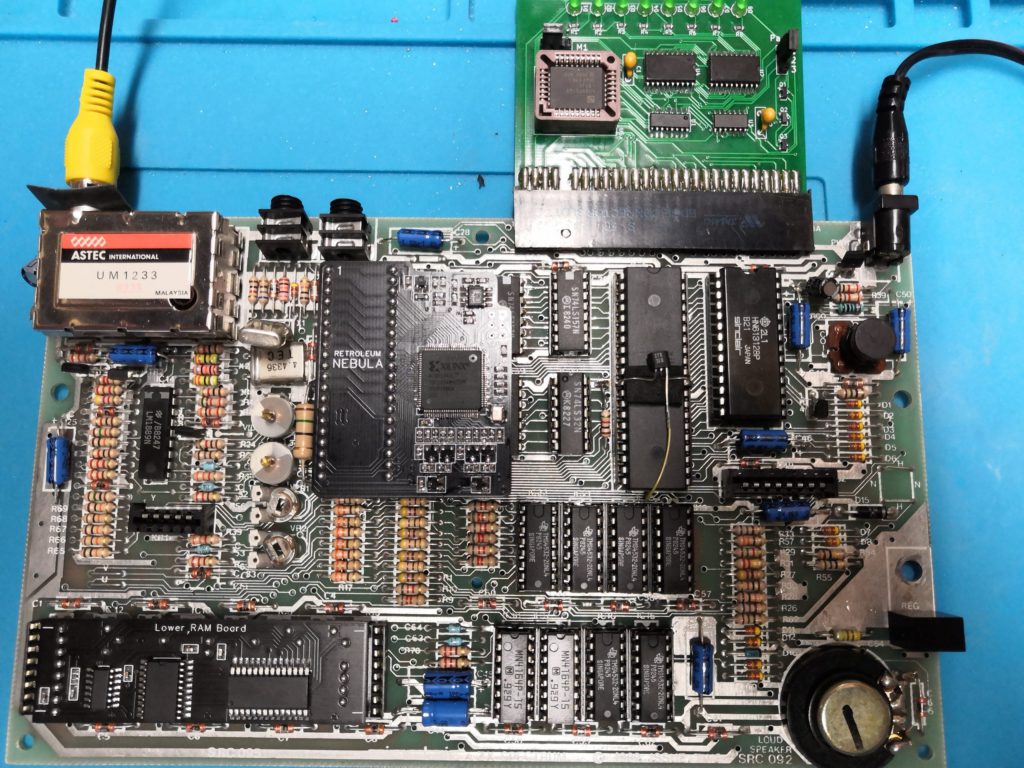
With everything replaces, almost literally, I had a working Issue Spectrum.
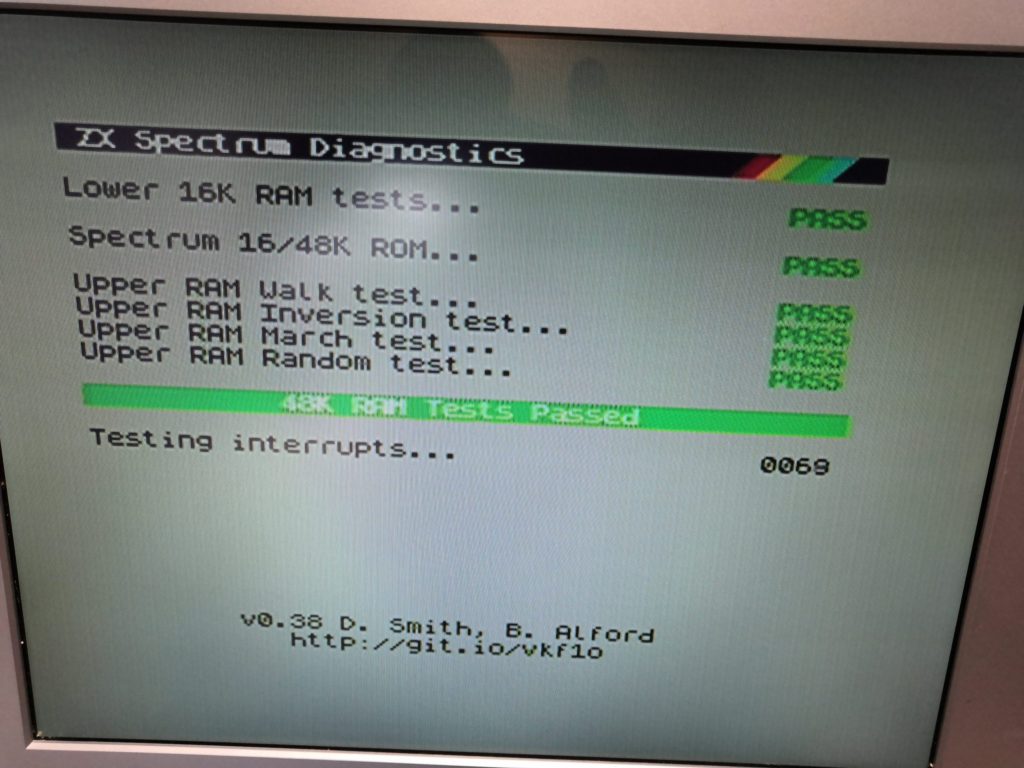
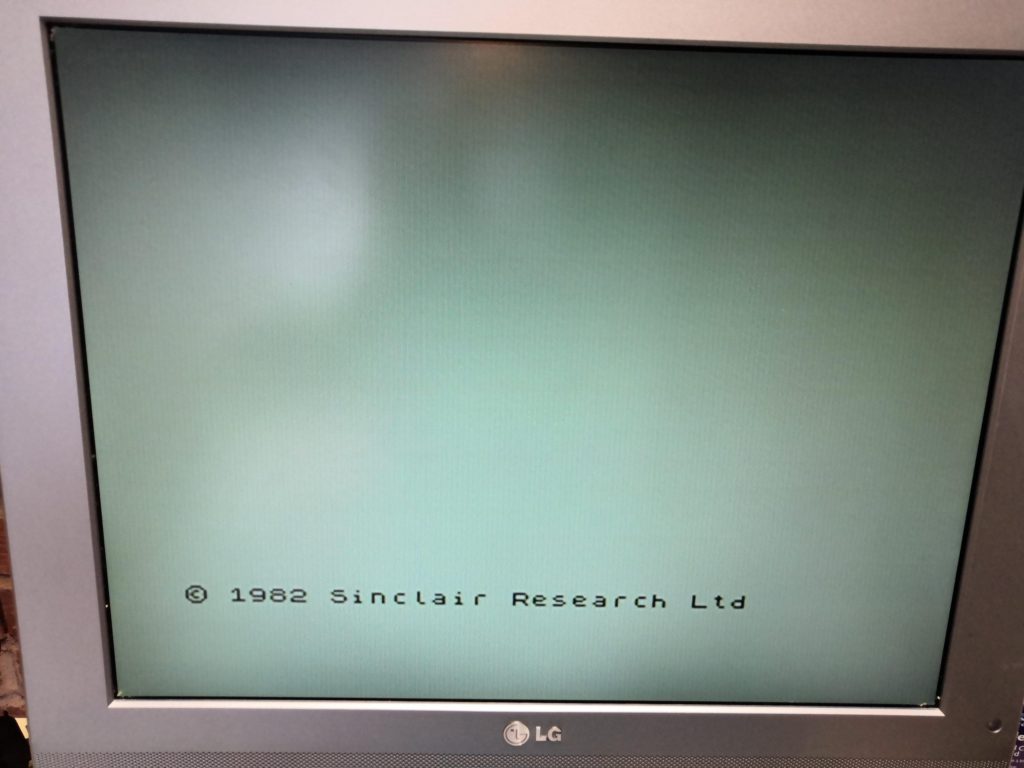
All done… only cosmetics next.
