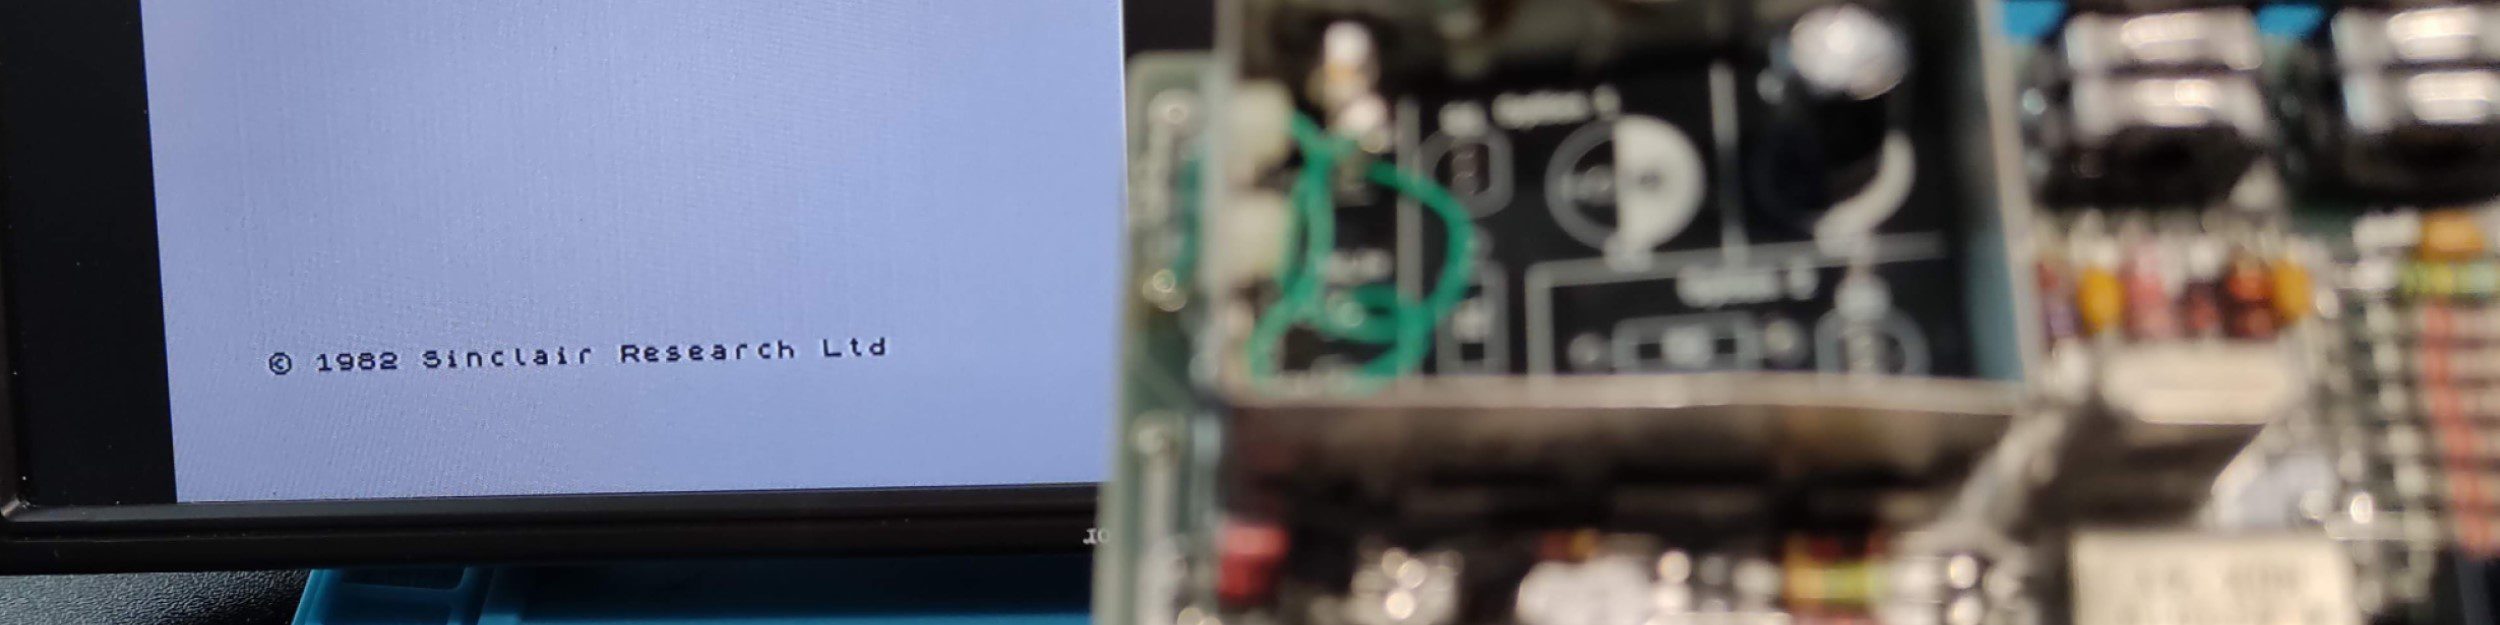
In part 1 I cleaned and repaired my Atari 2600 Jnr; the result looked really good but it still needed an old TV with a tuner to use. So my next task was to do a composite mod; this is well documented on various sites. The circuit is simple but I decided to buy a pre-made PCB from eBay. I followed the guide on The Future was 8 Bit (you can also buy the PCB from them), and the provided series of photos made it straightforward.
The mod involves removing several components from the main board, so you will need reasonable de-soldering skills if you are going to attempt this yourself.
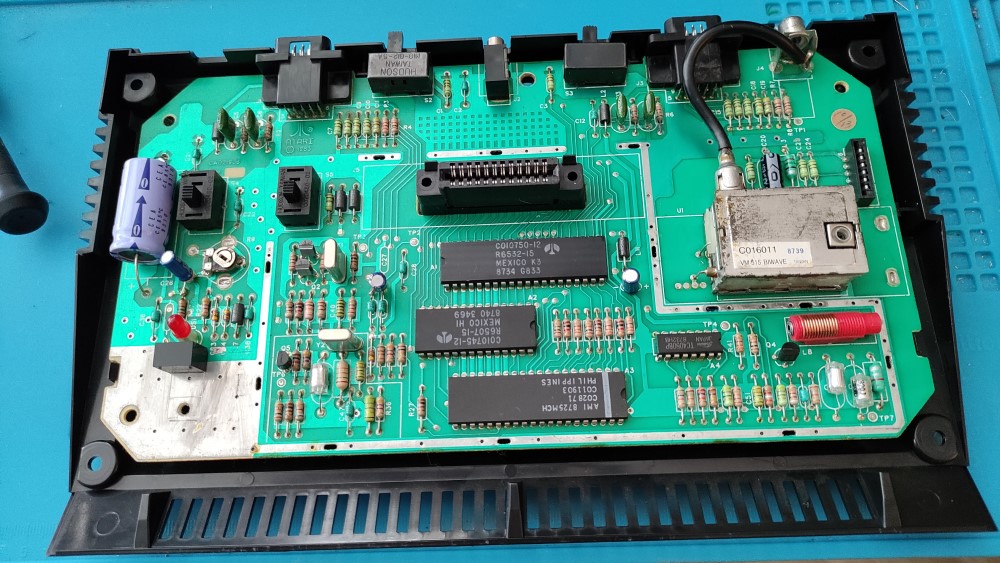
For reference my Atari 2600 Jnr is a PAL edition and is shown in the photo above; there appear to be several versions of the PCB.
You need to remove the following:
- TV Encoder (metal box) – I also removed the TV jack as a single unit to keep them all together
- L8 – Inductor (red thing with copped wire wrapped around it)
- Q4 – Transistor (black round thing with three legs)
- R56 – Resistor
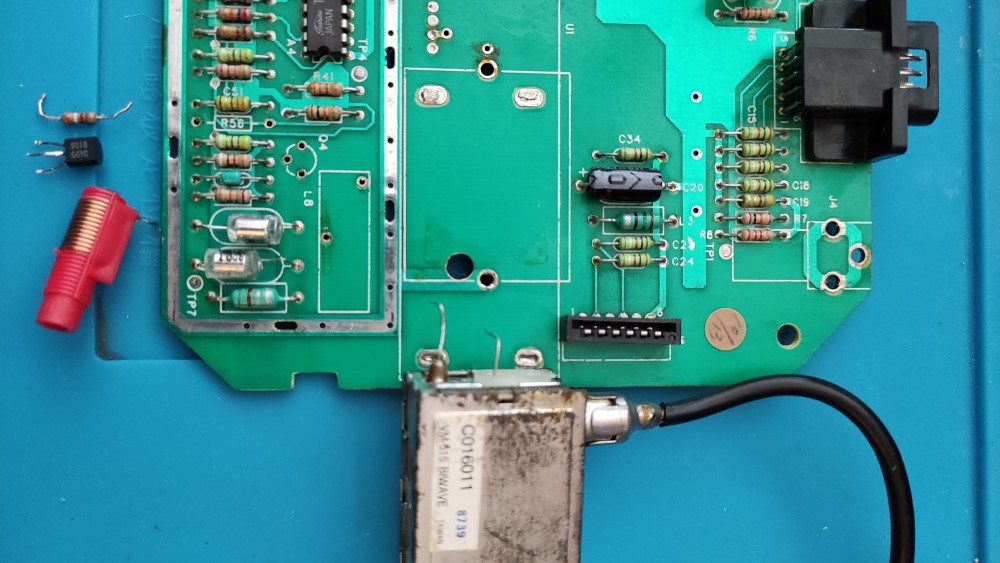
After removing the components I gave the board a good clean with isopropanol to remove the residue from the flux that I added to aid de-soldering.
Next step was to following the guide and solder various new wired to the mod PCB.

This involves connecting 5v, ground, and video connections to points freed up by the removed components. The board I have doesn’t include the sound connection so I wired this directly to the output jacks, as shown in the photo.
I chose to add female RCA jacks to the case using a stepped hole drill, this is destructive and in retrospect, I might choose to use a cable dangling out of the open TV connector socket if I do another…. (although the connectors do look good).
Connecting to the jacks is easy:
- Connect all grounds to the ground on the board (outer casing of the RCA connectors)
- Video out to the centre pin of the video jack (usually yellow)
- Audio out to the centre pins of both audio jacks (usually red and white)
To make future work easier I included a 3-pin connector between the mod board and the case connectors to allow the top to be disconnected from the bottom easily.
The final thing was a dab of hot glue to secure the mod board and cables to the motherboard and to close the case.
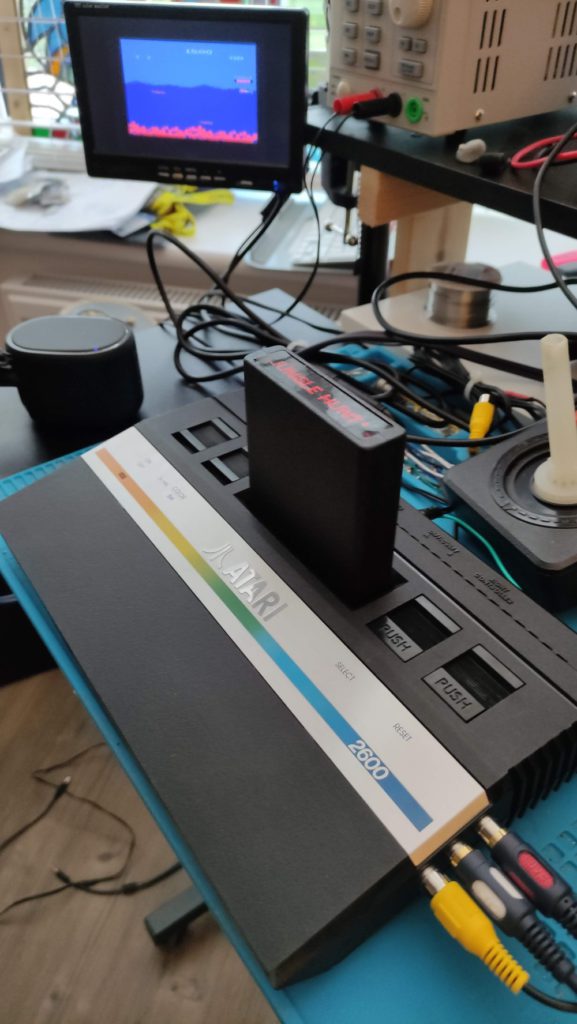
With everything finished I tested the mod with a quick game of Jungle Hunt. Interestingly, I tried the other games that I have and didn’t have an issue with the dodgy cartridge connection, everything worked without a fault ?
Now I need to get some new controllers and cartridges 🙂