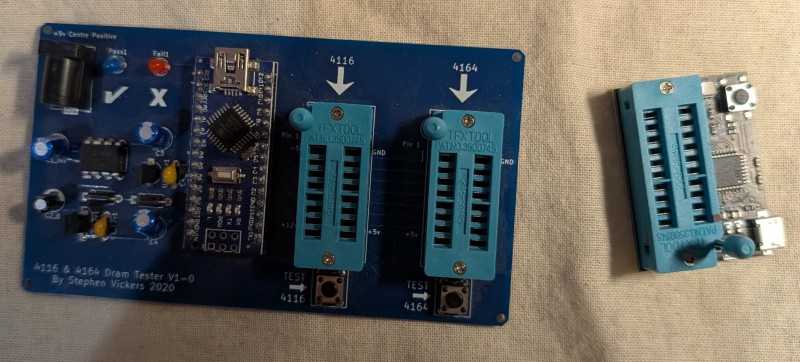
Dead RAM chips are a common fault with many retro computers, so being able to test them quickly and reliably is essential. Over the years this has led me to designing and building a couple of testers myself…
I have also bought a couple…
All of these work well and have saved me hours of trial and error trying to find the dead chip.
The Pico DRAM Tester
While restoring my two Amigas I needed to test yet another type of RAM chip (41256)…. which I didn’t have a tester for. I thought about creating one, but while searching I came across the Pico Ram Tester from ‘schlae’ (https://github.com/schlae/pico-dram-tester) – the creator states that this is an early beta, but I decided to build one and give it a go. Sending off the board to PCBWay was easy as usual and I soon had 10 boards ready for building.
Building the board was easy as all of components are through-hole – there is one surface mount, but I didn’t need it as I used the Adafruit display.
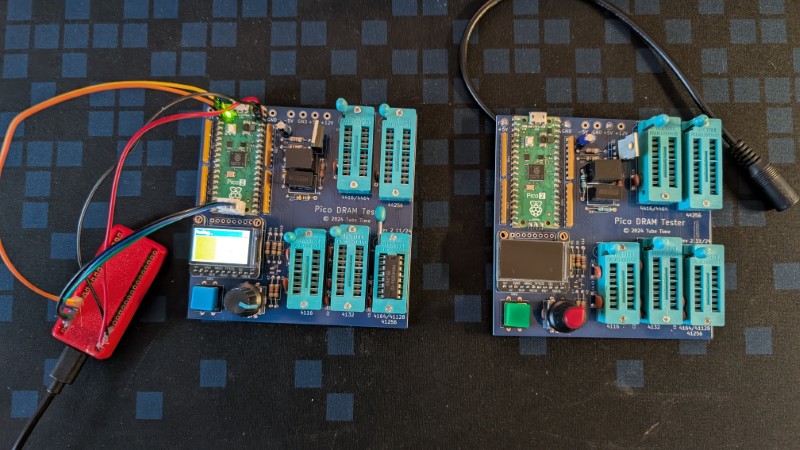
There are some options on how you power the board using either an external power supply, or adding a few extra components to the board to generate the various voltages (12v and -5v) and powering from a 5v supply. I chose to do the later and add the components to make powering the board easier, although it make it more expensive to populate the boards.
I also ended up building two boards, one for debugging the software and one for testing/using. The debug one is shown on the left and includes additional headers for the Pico debugger.
I ended up making quite a few changes to the software to improve the user interface and include additional RAM test patterns (https://github.com/gpimblott/pico-dram-tester).
Conclusion
So was it worth it? I have to say yes I fully recommend building this tester. It replaces all of my other testers, has a nice user interface with feedback while testing. It isn’t the cheapest to build as a couple of the components were a little expensive from reputable suppliers, but it is still much cheaper than buying even one of the others pre-made testers on EBay.
Note: Shortly after I started the project I found another fork on GitHub that adds a DC Jack to the board to make it even easier to use – I have merged this into my GitHub repository.