So, this post will be a little short – because I completely forgot to take photos – or notes.
I recently got lucky at a car boot sale and picked up a Wii-U in extremely good condition and with everything except the controller charger – not a big deal as you can get USB chargers for a few pounds on eBay.
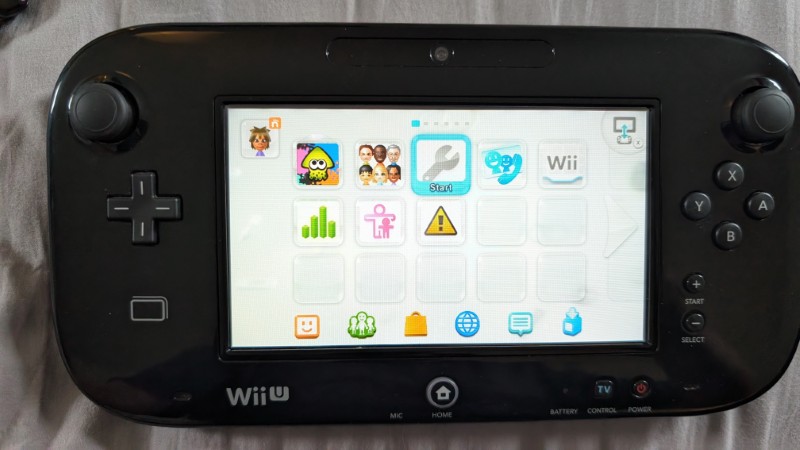
Getting it home, and after an initial clean as it was very grubby, I plugged it in to test – and to my surprise it booted straight up. The only issue was the touch screen was very intermittent – only working in some areas and when it felt like it. A quick Google and the digitizer was identified as the culprit, which would be purchased for £10.
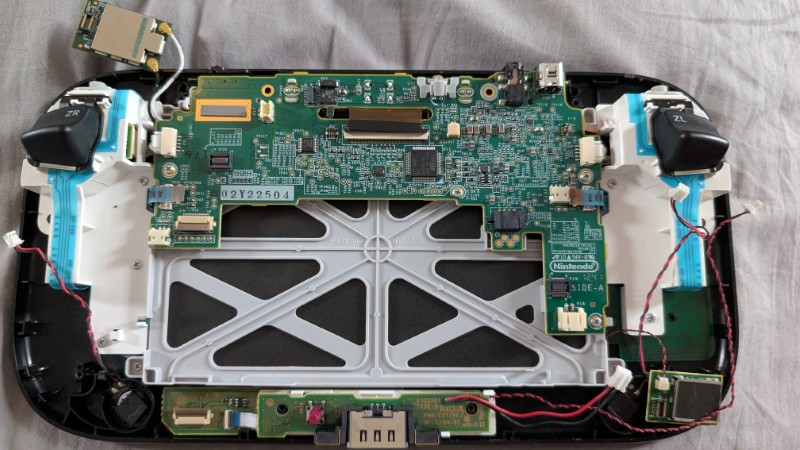
Disassembling the controller was fairly easy, requiring only a handful of screws to be removed and a few ribbon cables to be un-clipped. But you do basically have to remove the entire guts of the console – with the screen and digitizer assembly being the final piece to be extracted.
With the screen assembly removed the only tricky bit is removing the digitizer from the screen which is glued on. I used a plastic ‘guitar pick’ style ifixit spudger – slowly working my way around the edge of the screen and separating the digitizer. I then reversed the operation with the new digitizer in place.
The result is a perfectly working Wii-U ready to play Zelda.